|
|
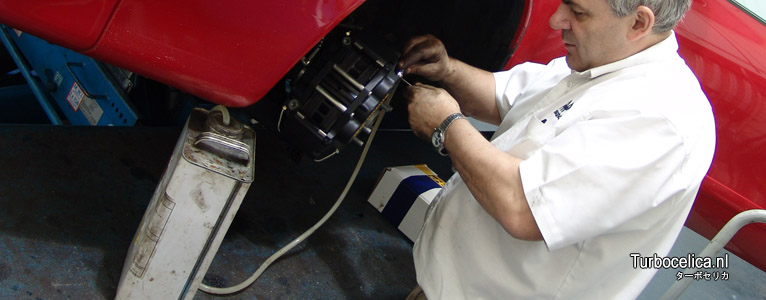
How to bleed the brakes Disclaimer Please note that I am not a mechanic by trade and that I nor Turbocelica.nl can be held responsible for any damage, injuries or death caused by work you perform using this website as a guideline. There is special equipment on the market to bleed the brakes, however this guide is based on using normal tools. When installing new brake pads as well, do it before bleeding the brakes as there will be too much fluid in the system the other way around. Parts and tools needed Brake fluid Brake cleaner Clean rag Small container/bottle/jar Spanner Transparant hose to go on caliper bleeder nipple Help of a friend is required.  Take off the wheel Take off the wheel to gain access to the brake you want to bleed. If you have to bleed multiple corners, start the furthest away from the reservoir in the engine bay (rear right hand side) to minimize the amount of cross-contamination between the new and old fluid. After you've removed the wheel, put at least one lugnut back on to secure the disc and prevent possible caliper flexing. Make sure the brake fluid level in the reservoir in the engine bay is at max. Make sure the level doesn't drop below min during the bleeding, when air is sucked into the system you can start all over again! Take the cap off the caliper bleeder nipple and put on the hose. Put the other end of the hose in the jar to collect the dirty fluid coming out of the caliper:  Get your friend to sit in the driver seat and press the brake pedal down and keep it there when you say 'down'. When the pedal is floored, loosen the bleeder screw a quarter of a turn. Your friend might notice the pedal pressure getting less or the pedal even falling to the floor. Just make sure he/she keeps the pedal pressed! You should see the old fluid along with some air bubbles coming out of the caliper through the hose. The screw only needs to be open for a few seconds - then close it again without over tightening it. When closed, tell your friend to release the pedal ('up'). Never say 'up' when the bleeder screw is still open, otherwise air will be sucked in again. Repeat this process until you see no more air bubbles coming out, while also keeping an eye on the reservoir of course! After the bleeding is done, top the reservoir up to max again. Use the brake cleaner and rag to wipe away spilled brake fluid and make sure there are no leaks. Put the cap back on the bleeder nipple. Job done! After bleeding the brakes the pedal will feel firmer a bit. Don't go for a top speed run and emergency stop test right after bleeding the brakes; do a short test drive and check the reservoir level as well as the caliper nipple(s) for leaks.   Related links Related linksHow to.. How to install ST205 rear brakes Modifications - Brakes Top |
|
|